

Holiday Cookie Board 101
Now that you’ve done all that holiday baking, it’s time to enjoy it! Consider this the dessert version of a charcuterie board…it’s a feast for the eyes AND the tastebuds. Check out my top 5 tips for building a gorgeous cookie board that will add to all your holiday celebrations.

Tip #1: Opt for a smaller, fuller board or platter
You might be tempted to make a massive platter, but think twice if you don’t have a massive amount of cookies to pile on it. Boards and platters look beautiful when they are piled high, so don’t be afraid to use a smaller platter that you can easily fill (and re-fill as items are eaten) Another option is to create two or three smaller boards that you can arrange together, and remove or rearrange as they empty. Here, I used one round metal platter, but you could easily use a round charcuterie board, 2-3 rectangle wood boards, or even a few cake stands in varying sizes and heights. Get creative!
Tip #2: Create a separate board for guests with allergies
From my experience with allergies, it’s always appreciated when there are allergy-friendly options available! It is helpful when those cookies that are allergy-friendly (like dairy free, nut free or gluten free) are arranged on a separate board. Guests will thank you for keeping them safe and the addition of an extra cookie board will just add to your festive table!
It’s actually easier to bake gluten free and dairy free than you think…there are so many alternatives out there! My favourite substitute for butter is coconut oil, and my favourite substitute for flour is President’s Choice Gluten Free Flour Blend.

Tip #3: Create visual interest
If you are feeling like your board is looking bland, or you have cookies or chocolates on your board that are hard to pile on the board properly, use little jars, bowls or even festive cupcake liners to stack or pile some cookies. This will create separation and height on your platter, and it’s helpful for really small items on your board. Looking to fill space? Add a bowl of Christmas oranges, a jar with mini candy canes, or a little bowl of sugar plums.


Tip #4: Go for variety
When it comes to choosing which cookies go on your board, try to get a bit of everything! Chocolatey, fruity, nutty, soft, crunchy, spicy, ultra-sweet….try to include as many flavours as possible! For shapes, you can include bars, classic cookies, cutout cookies, balls, and mini loafs or loaf slices. Here’s an example of how I planned this board:
Fruit/Citrus-Cranberry Bars, Spiced Citrus Loaf
Chocolate - Chocolate Dipped Stars
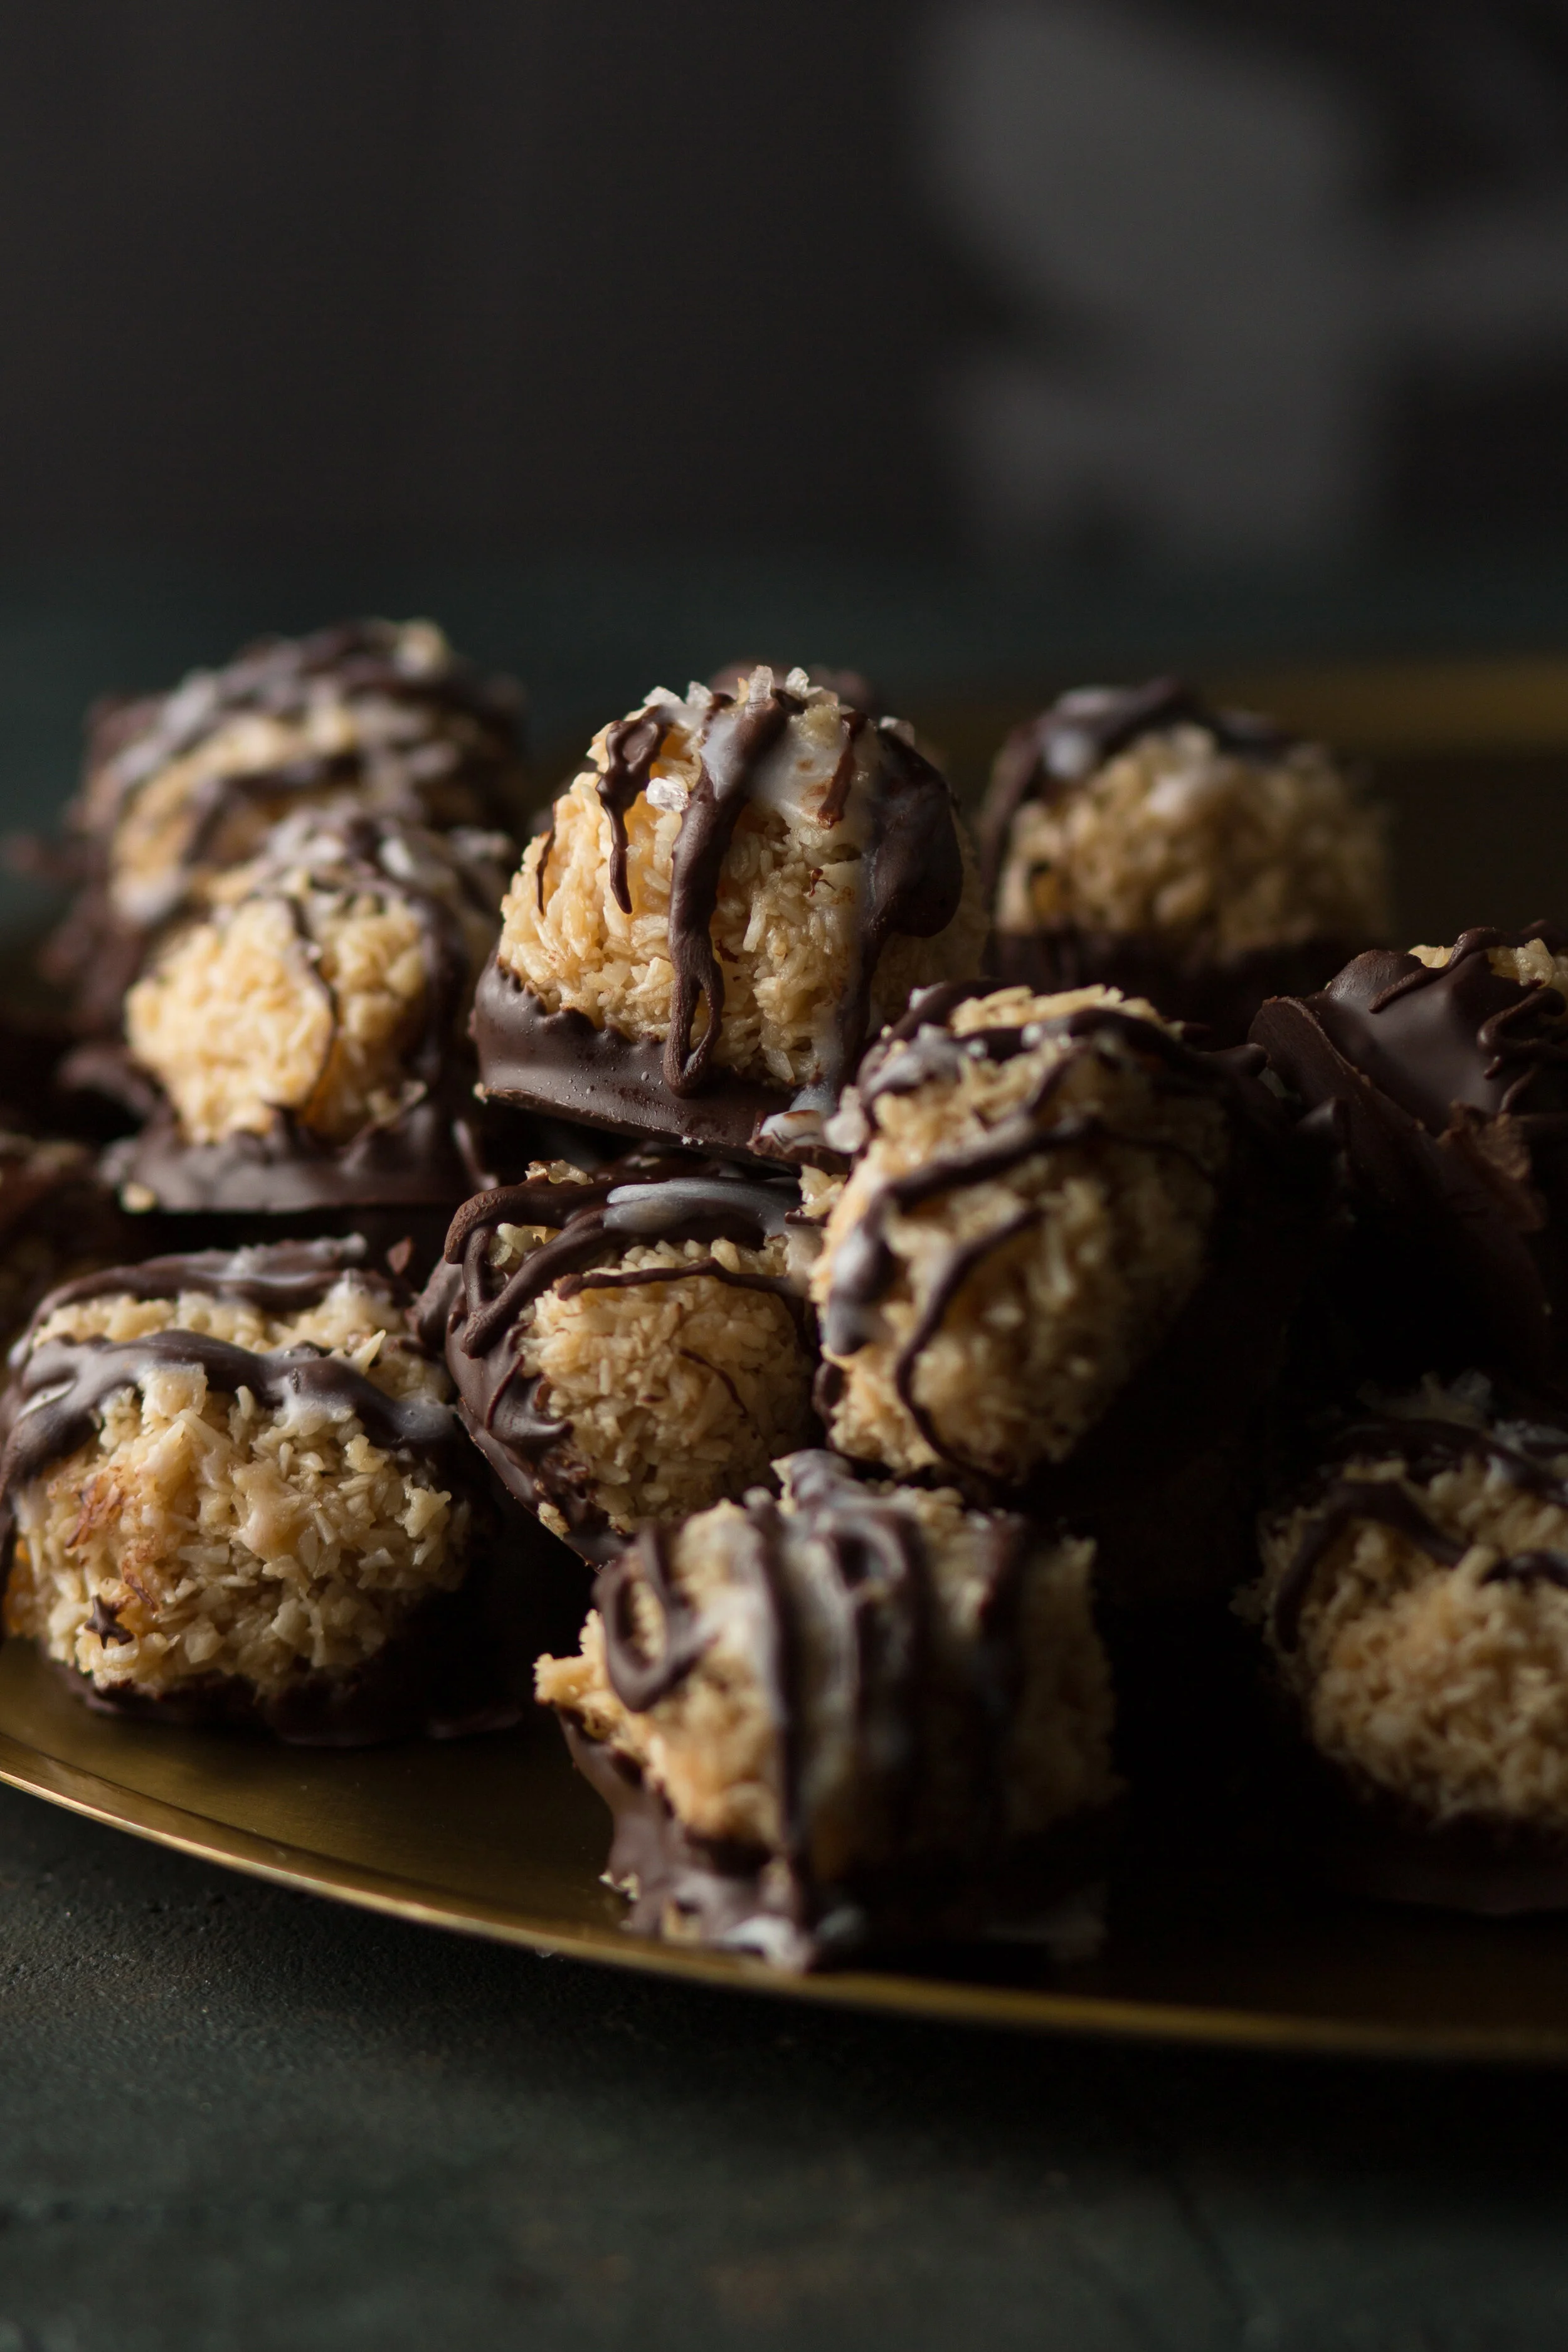
Salty/Sweet-Nutchos, Salted Caramel Dark Chocolate Macaroons
Spicy - Spicy Ginger Sparkles
Mint - Mini Candy Canes
Tip #5: Take it up a notch
Looking to up your game? Add marshmallows, candy canes and chocolate shavings to turn your cookie board into a hot chocolate bar. Whip up a big batch of hot chocolate, a bowl of whipped cream, and let your guests choose their hot chocolate toppings and cookies to dip! Here are some ideas for hot chocolate bar additions to get you started:
flavoured marshmallows
whipped cream or coconut cream
peppermint sticks
Christmas sprinkles
wrapped caramels
course salt
toffee bits
Lindt chocolate truffles