
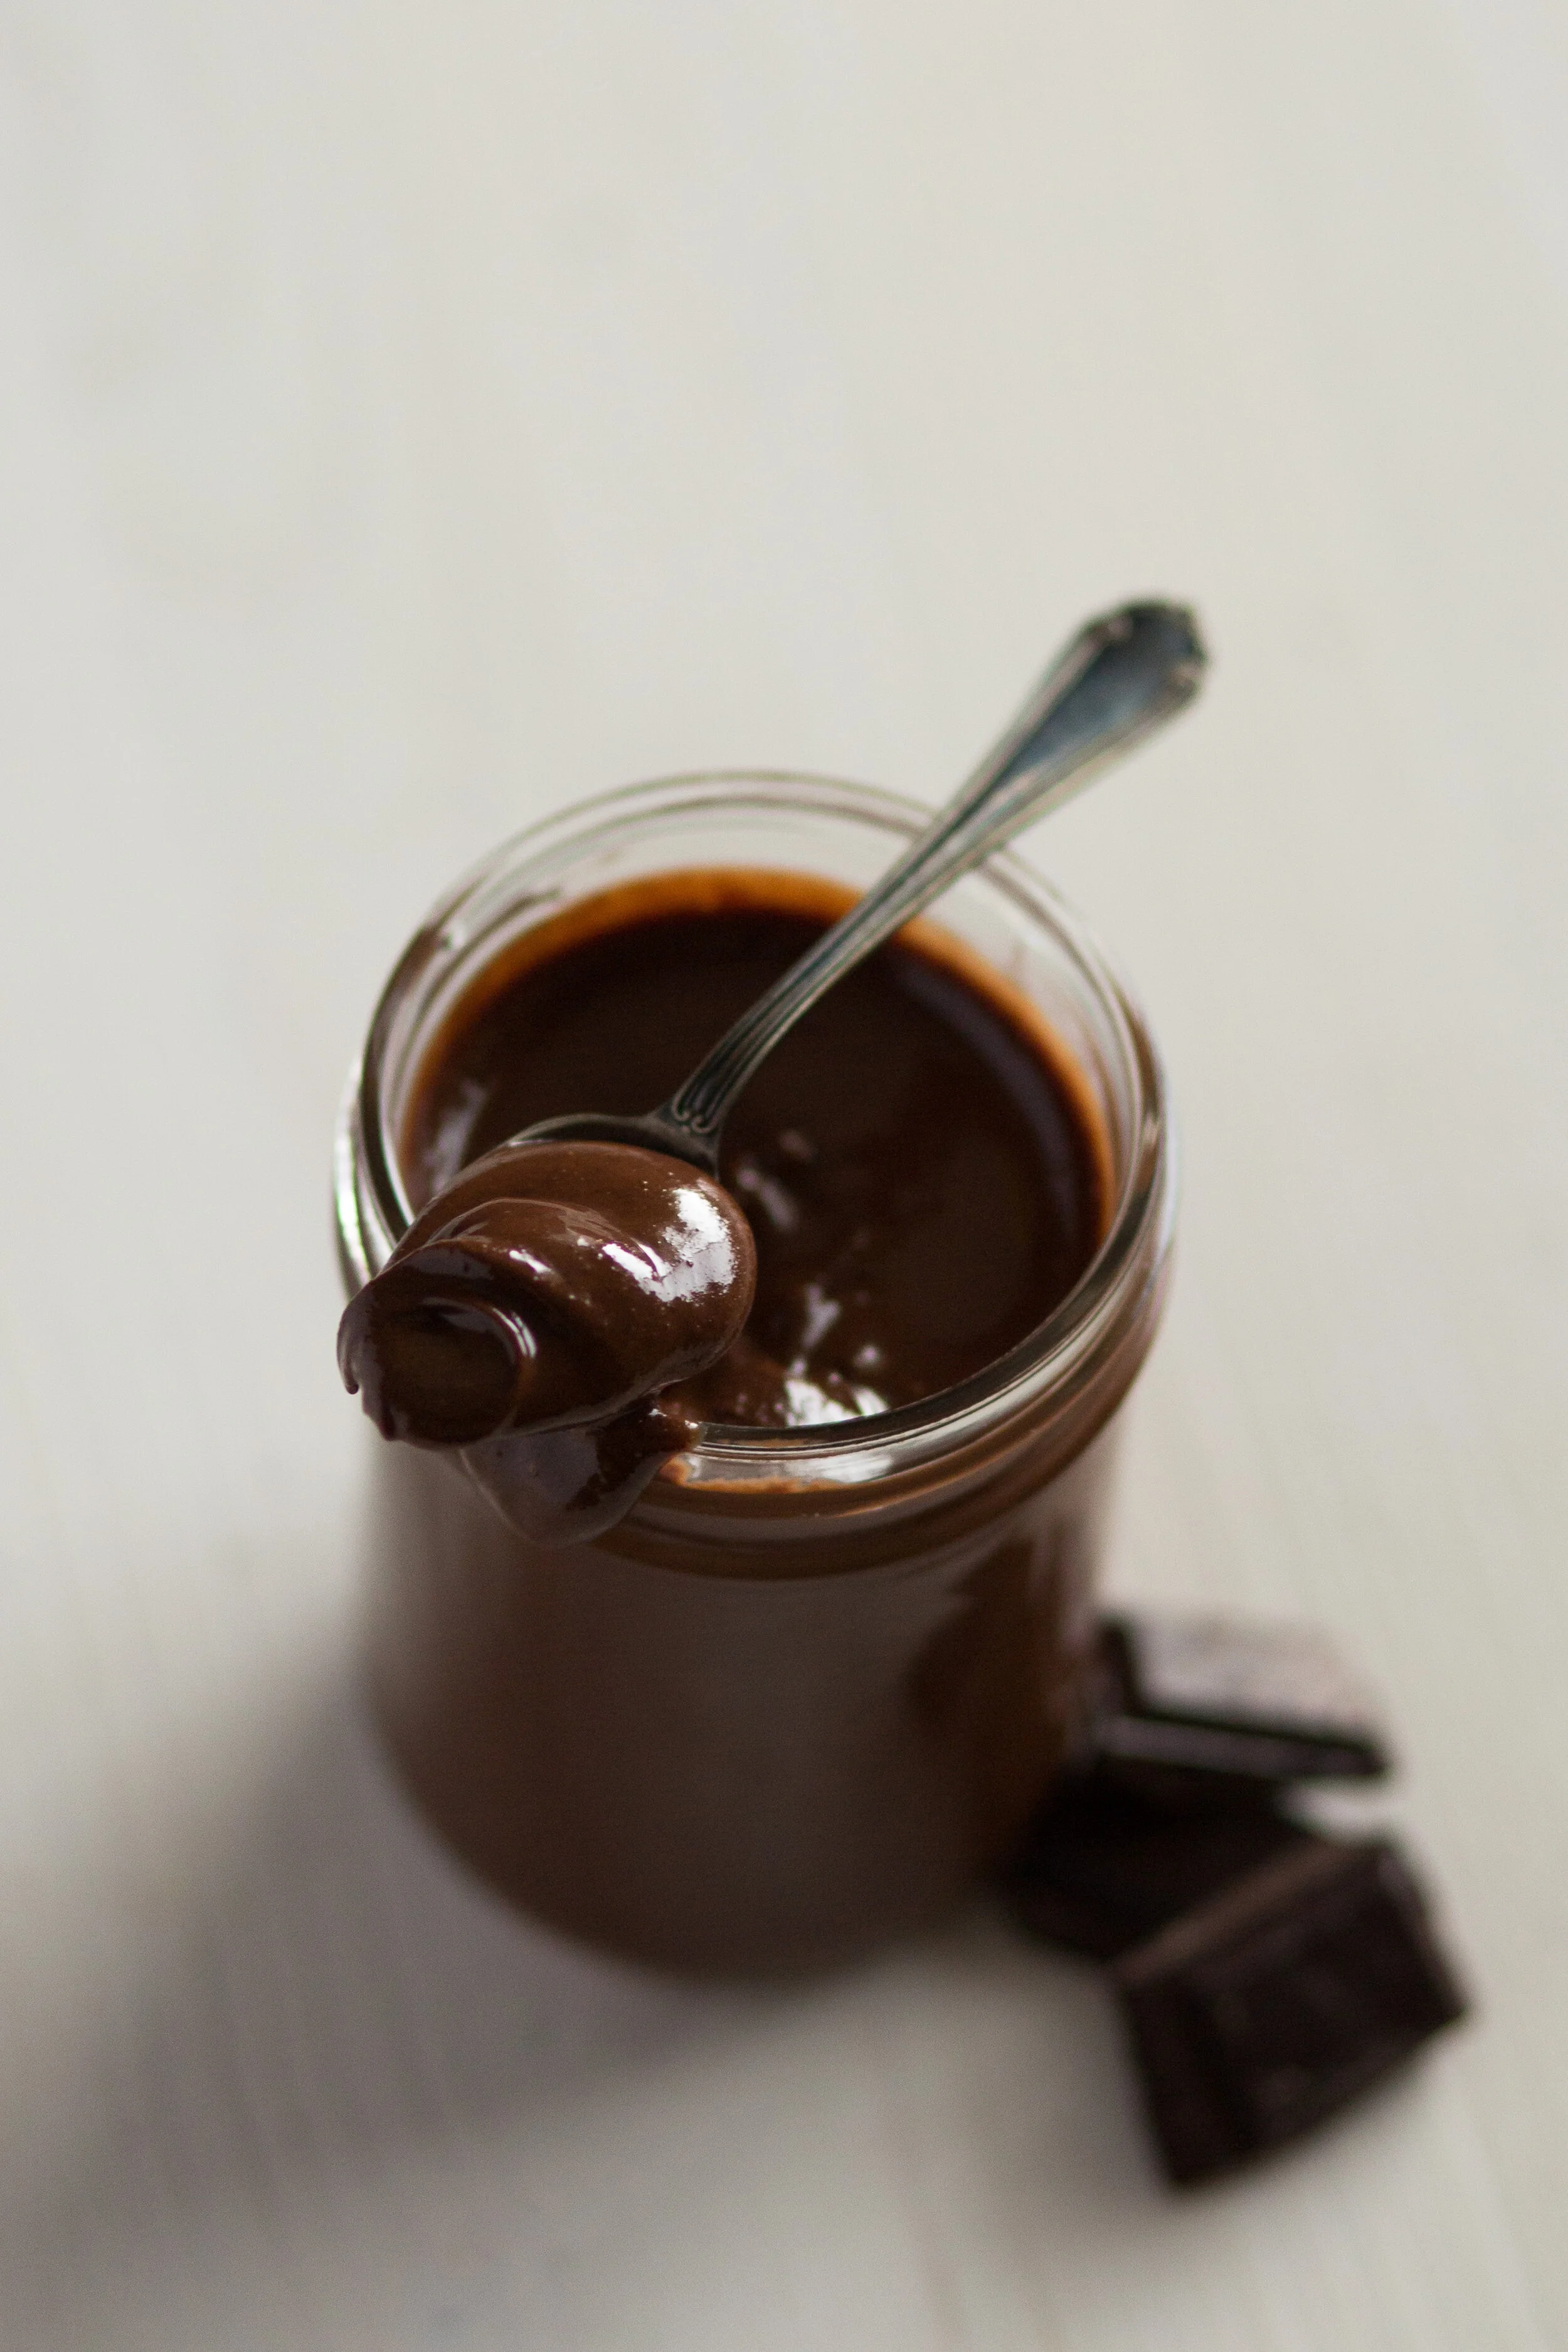
Dark Chocolate Hazelnut Spread
It’s no secret that we are pretty obsessed with our new blender in this house. I know, I know…this is the part where you tune me out, but I honestly love this little baby. Soup? Check. Alternative Milk? Check. Jam? Check. CLEANS ITSELF? Check, check, check. I think the best part is blender foods are pretty fun to make with kids because you can throw all the ingredients in there and they can press the buttons and watch it churn. Pretty sure Henry is planning to start his own YouTube channel with all the videos he’s made of our blender creations!
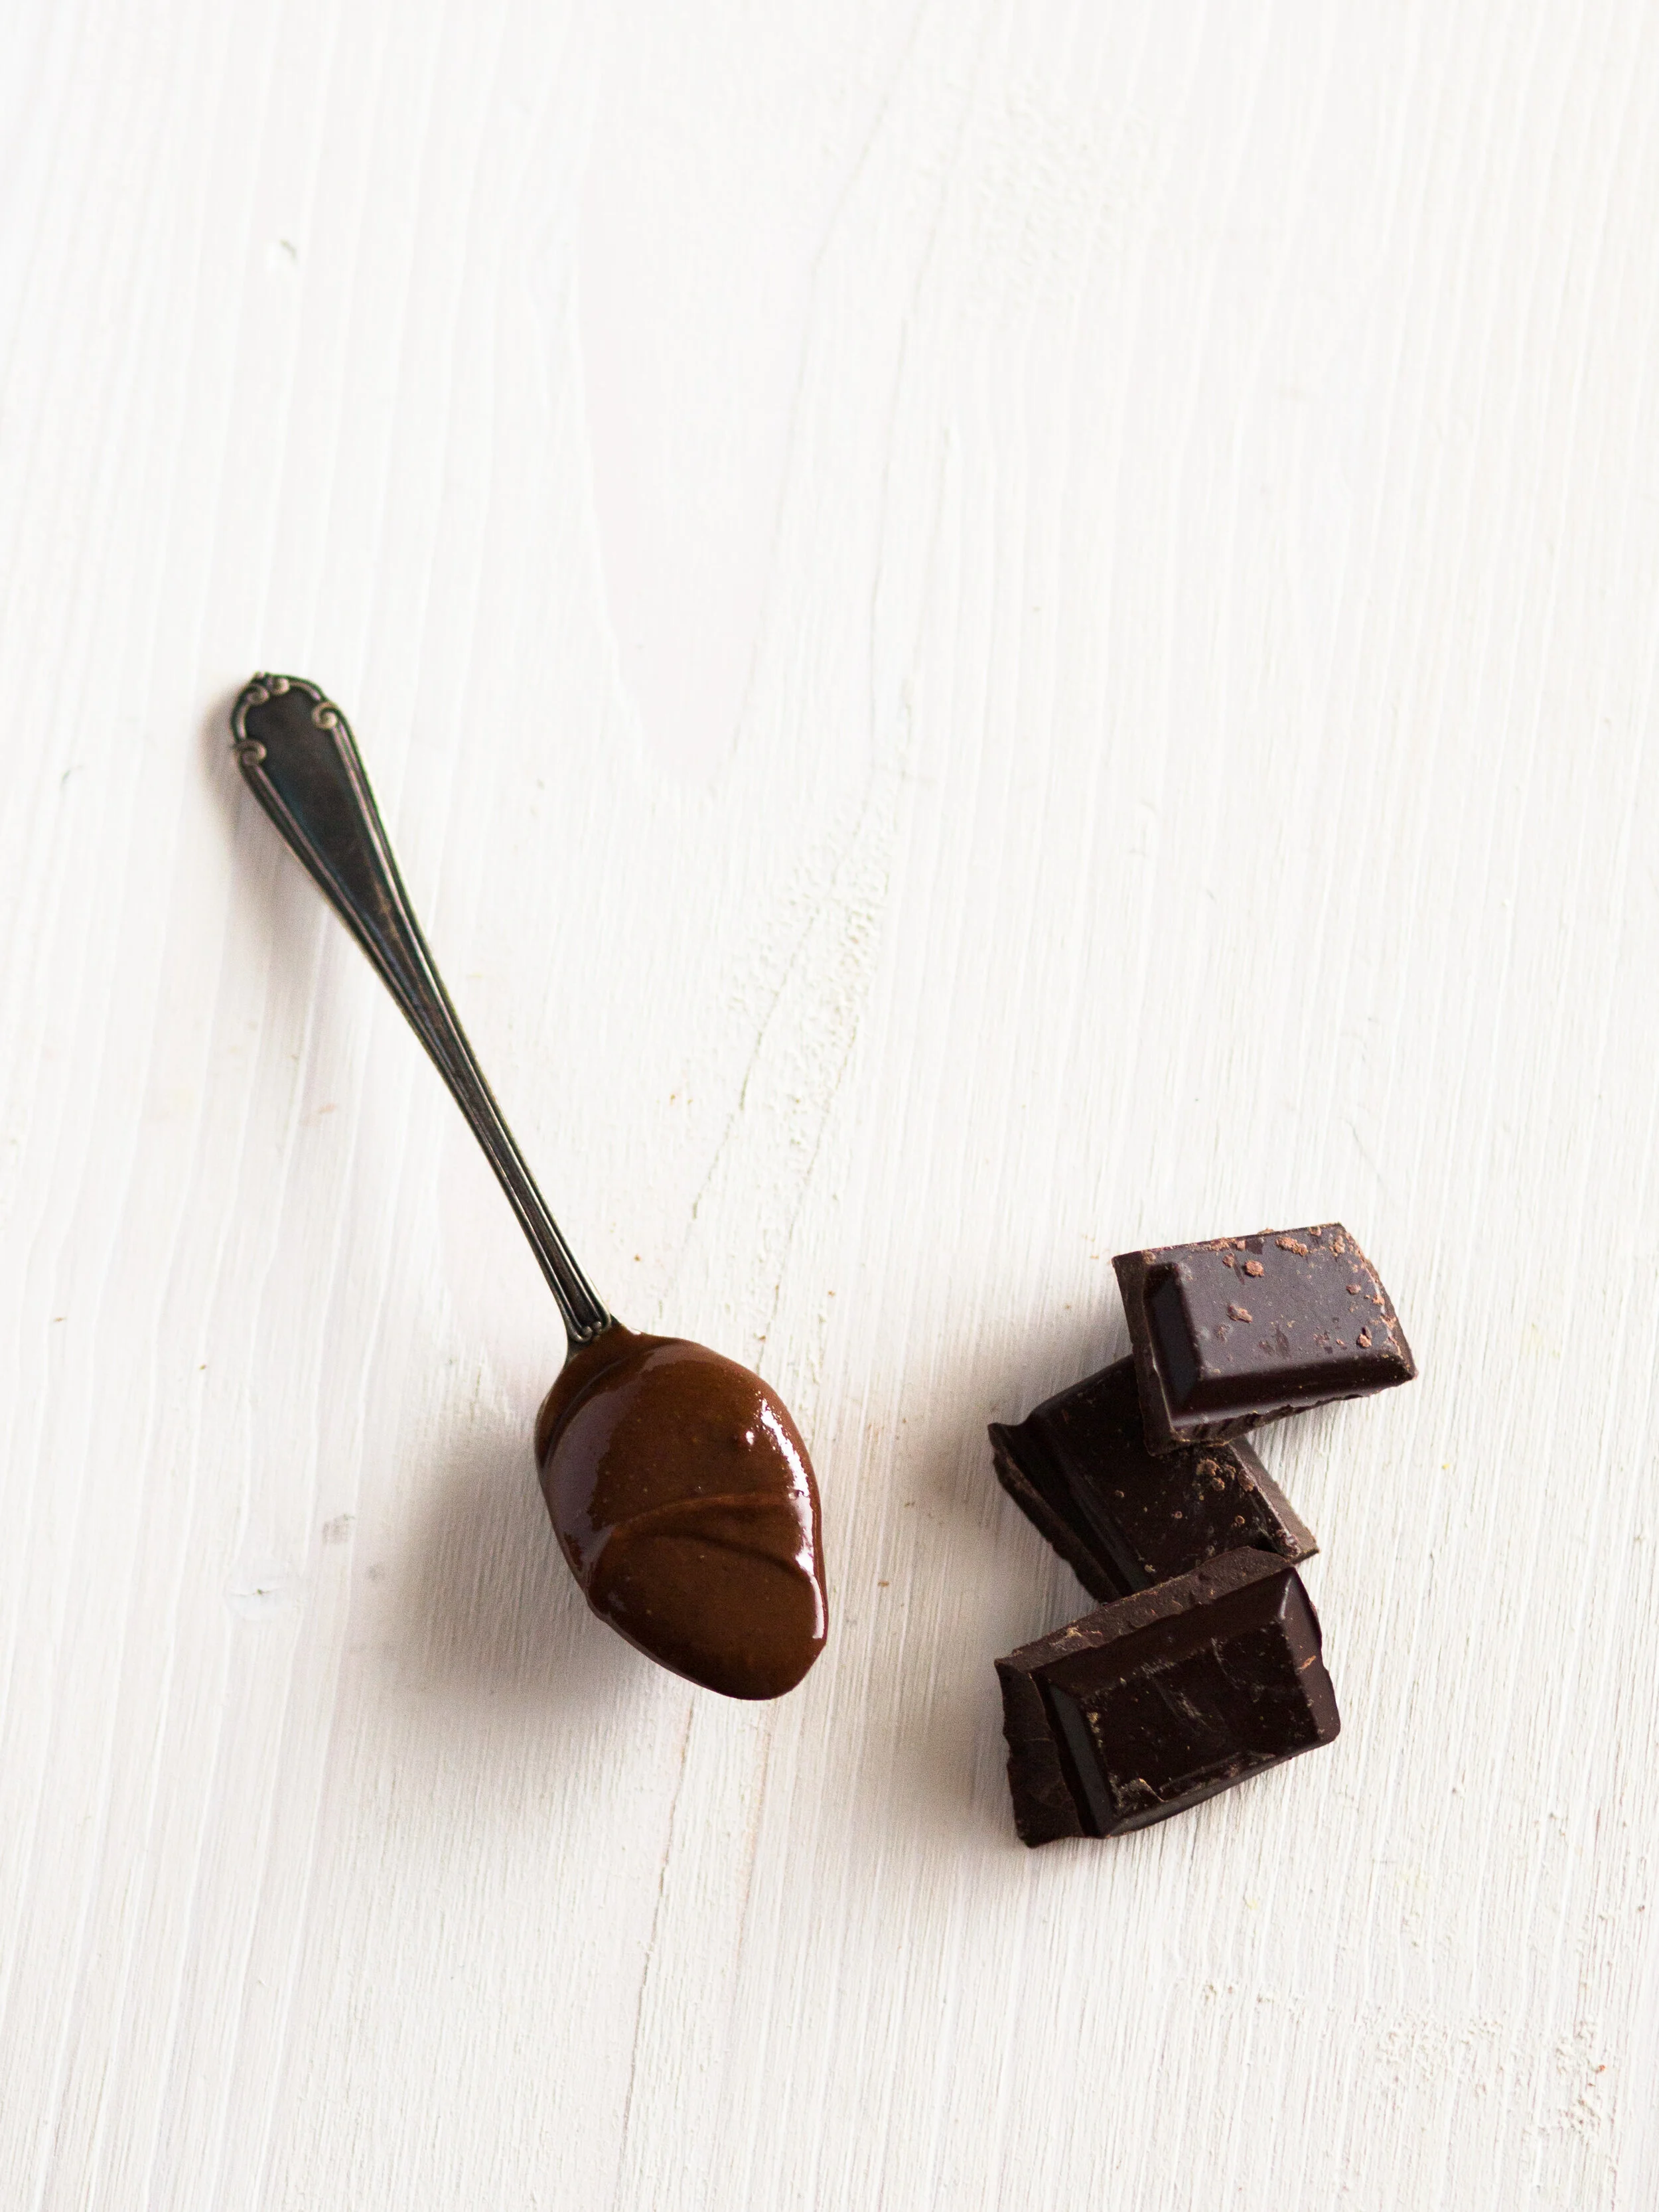
This was our experiment with homemade hazelnut spread and it turned out sooooo good. If you are the kind of person who likes natural peanut butter better than the other kind, then you will be a big fan of this recipe! I’m pretty sure it would also work in a strong blender or a good food processor, so you don’t need our specific type of blender to do this, but it definitely helps;) No added sugar, and no dairy (if you use dairy-free dark chocolate), just that nutty, chocolatey goodness.
Recipe
Dark Chocolate Hazelnut Spread
Ingredients
3 cups raw hazelnuts
1 cup dark chocolate, chopped (we use dairy-free, 80% dark chocolate)
1 tsp vanilla
1/2 tsp salt
Directions
Preheat oven to 300 F. Spread out hazelnuts on a cookie sheet.
Toast nuts in the oven, watching carefully. It usually takes about 15 minutes for me.
When nuts are lightly toasted, take them out of the oven and really carefully wrap them in a clean tea towel (they will still be super hot, so be careful!) and let them steam for about 3-5 minutes. After they’ve steamed for a bit, rub them vigorously with the tea towel to remove the skins from the nuts. Discard the skins.
Toss the nuts into your blender/food processor of choice. For my blender, toss in the nuts, turn the setting to “Grind” and use the tamper to push down the nuts on the sides until the mixture starts to look smooth. Be patient with this step. Keep blending and tamping until the nuts get super smooth. Once the texture starts to look more even, pause the blender, add the chocolate and salt and resume setting. Once combined, stir in vanilla, and if you like things a little sweeter, add up to a tablespoon of sugar (we don’t add any, but no shame if you want to!)
If you are using a food processor: Blend nuts on high, scraping down the sides regularly. Take your time, you want the mixture to be super smooth. Once the nuts are a super smooth texture, carefully melt chocolate in bowl in the microwave, stirring every minute or so until it’s thin and smooth. Pour into hazelnut mixture, add salt and vanilla, and blend until well combined.
Store in an airtight container or jar…it will get more firm and thick in the fridge, we just store ours in the pantry, and it kept for 14 days for us. If you can make it last that long;)


